This has been a long time coming. A labor of love...with a little cursing and a lot of money thrown in.
We bought the cabin in September of 2009 (under contract at the end of June...should have known more drama would follow LOL). Here are photos from the first time our awesome real estate agent Nik Shewmaker took us to see it.
from the street (I didn't take an outside photo I guess - this is the one from the listing)
downstairs bedroom
downstairs bathroom
front deck
living area from the upstairs landing
the once awesome hot tub (it had a waterfall LOL)
the screened back deck with the hot tub
the upstairs bedroom
the upstairs bathroom / vanity

the upstairs bedroom
the kitchen area from the front door / living area
It had been foreclosed on. Little to no maintenance had been done on it since it was built in 1995. These were taken at the end of June 2009. We didn't see it again until the middle of October 2009. If I took photos that day, I can't find them. Let me tell you what we found. The roof had been leaking. The whole cabin just felt damp. The walls of the hallway were COVERED in white and green fuzzy mold. So were the doors. Frankly...I was petrified to sleep there, but I wasn't about to fork over cash for a motel room for the night either. Luckily we had spent the night at Mr. P's parents' home so it was only a 4ish hour drive and we had the majority of the day to turn this mess around. So we unhooked the trailer and went straight to Lowe's.
Shopping list:
- Buckets
- Mop
- Murphy's Oil Soap - 2 gallons
- Scrub Brushes
- Razor Blades
- Windex
- Paper Towels
- Rags
- Sponges
- Broom
- Dustpan
- Trash Can
- Outdoor Garbage Bags
- Damp Rid. Lots of Damp Rid. (we actually still have it in all the closets)
- Gloves. Lots of Gloves.
I changed into my sexiest cut off sweat pants and paint splattered, holy (air conditioned) tee, some new gloves and it was off to the races. Opened the windows and cranked down the AC to try and dry the place out a bit and Mr. Paisley and I cleaned that place from ceiling to floor. Every inch of that cabin was scrubbed and wiped down. I kinda like the smell of Murphy's Oil Soap. Thank God the cabin is under 1000 square feet. Sadly...that's just the floor. I don't really want to know how many square feet we cleaned between the walls and ceilings and beams and doors and window casings. We were exhausted. But I felt less concerned about sleeping there. I did however insist that the blow up bed we brought be in the middle of the floor...away from the walls. The next day we unloaded the trailer and the truck. I had been shopping from the time we came back with the cabin under contract until the day we left to drive up there in October. House in a box! Mostly...
We went from the photos above to this...in 3 days. I know it was 3 days because my mom was visiting her sisters and they all decided to drive down to stay the rest of the week with us. Nothing like an impromptu house warming party!
from the street
the living area
the dining area
the living area from the upstairs landing (wow...didn't realize how bare it was even after moving in a trailer load of stuff!)
the front deck - I miss my little bench...it was much cuter than it's replacement
the upstairs bedroom
 the downstairs bedroom (set up for having 3 unexpected guests)
voila! a light fixture in the laundry closet! (free - from my dad - it was brass...I painted it bronze)
the stairs
the side of the kitchen you can't see because it's behind that wall in the photo below
the kitchen area (woo hoo...we have a dishwasher...but no other appliances LOL $50 on Craig's List baby!)
the front door (note the curtain...that's what they looked like when they were at the Paisley Cottage - my mom didn't get crafty with them until her 3rd or 4th visit when I lugged my sewing machine up there with us - held up with random tension rods that I had in a closet at the Cottage)
the upstairs landing
And here are the most recent photos. We have rearranged. Changed out. Cleaned. Stained. Replaced. Reworked. And mostly enjoyed....getting Robin's Nest to it's current state. It's not finished. The roof still leaks once in awhile. The floors need to be refinished. The sofa and loveseat are too big for the space. The lighting needs work. The interior doors need to be replaced, the kitchen counter is ugly. Some of the interior walls need more cleaning than Murphy's can do (water stains from the leaking roof). It'll come with time. It's hard to get a lot done when you're only there for 7-10 days at a time. Slow and steady wins the race.
from the street - cleaned and re-stained
the front deck
the front deck's new bench (free - made from a bunkbed my neighbor threw out and some scrap 2x4s from the shed) to replace the cute small one that someone stole. This photo is from last Winter.
the upstairs bedroom
the upstairs bedroom
the upstairs bedroom (random shelf - similar, but not the same as the ones downstairs - this one happened to be in the Paisley Cottage when I bought it and it was in a closet - it's deeper than the others and shorter which bugs me. I bought a new one last week, ran out of time to stain it and get it up there...next trip!)
the upstairs bedroom
the upstairs vanity (old light fixture from remodeling the bathroom at the Paisley Cottage - it was a textured stone type sand color - I painted it black - free is good! I got the mirror for $35 at a thrift store - it was $70, but everything was 1/2 off - the frame was a lovely shade of 1980s salmon...amazing what some black paint can fix.)
the upstairs bathroom (curtain is recycled as well - actually, all of them are - when the Paisley Cottage was "beach cottage" I had these chambray tab top panels in my family room, my awesome mom cut and spliced and added trim and hems and voila - all "new" curtains for the upstairs bedroom, the upstairs bathrooms, the kitchen and the living area!)
the upstairs bathroom
the upstairs bedroom
the stair wall
lower stair landing
living area window looking out to the front deck
living area from upstairs landing
hallway downstairs
the downstairs bathroom
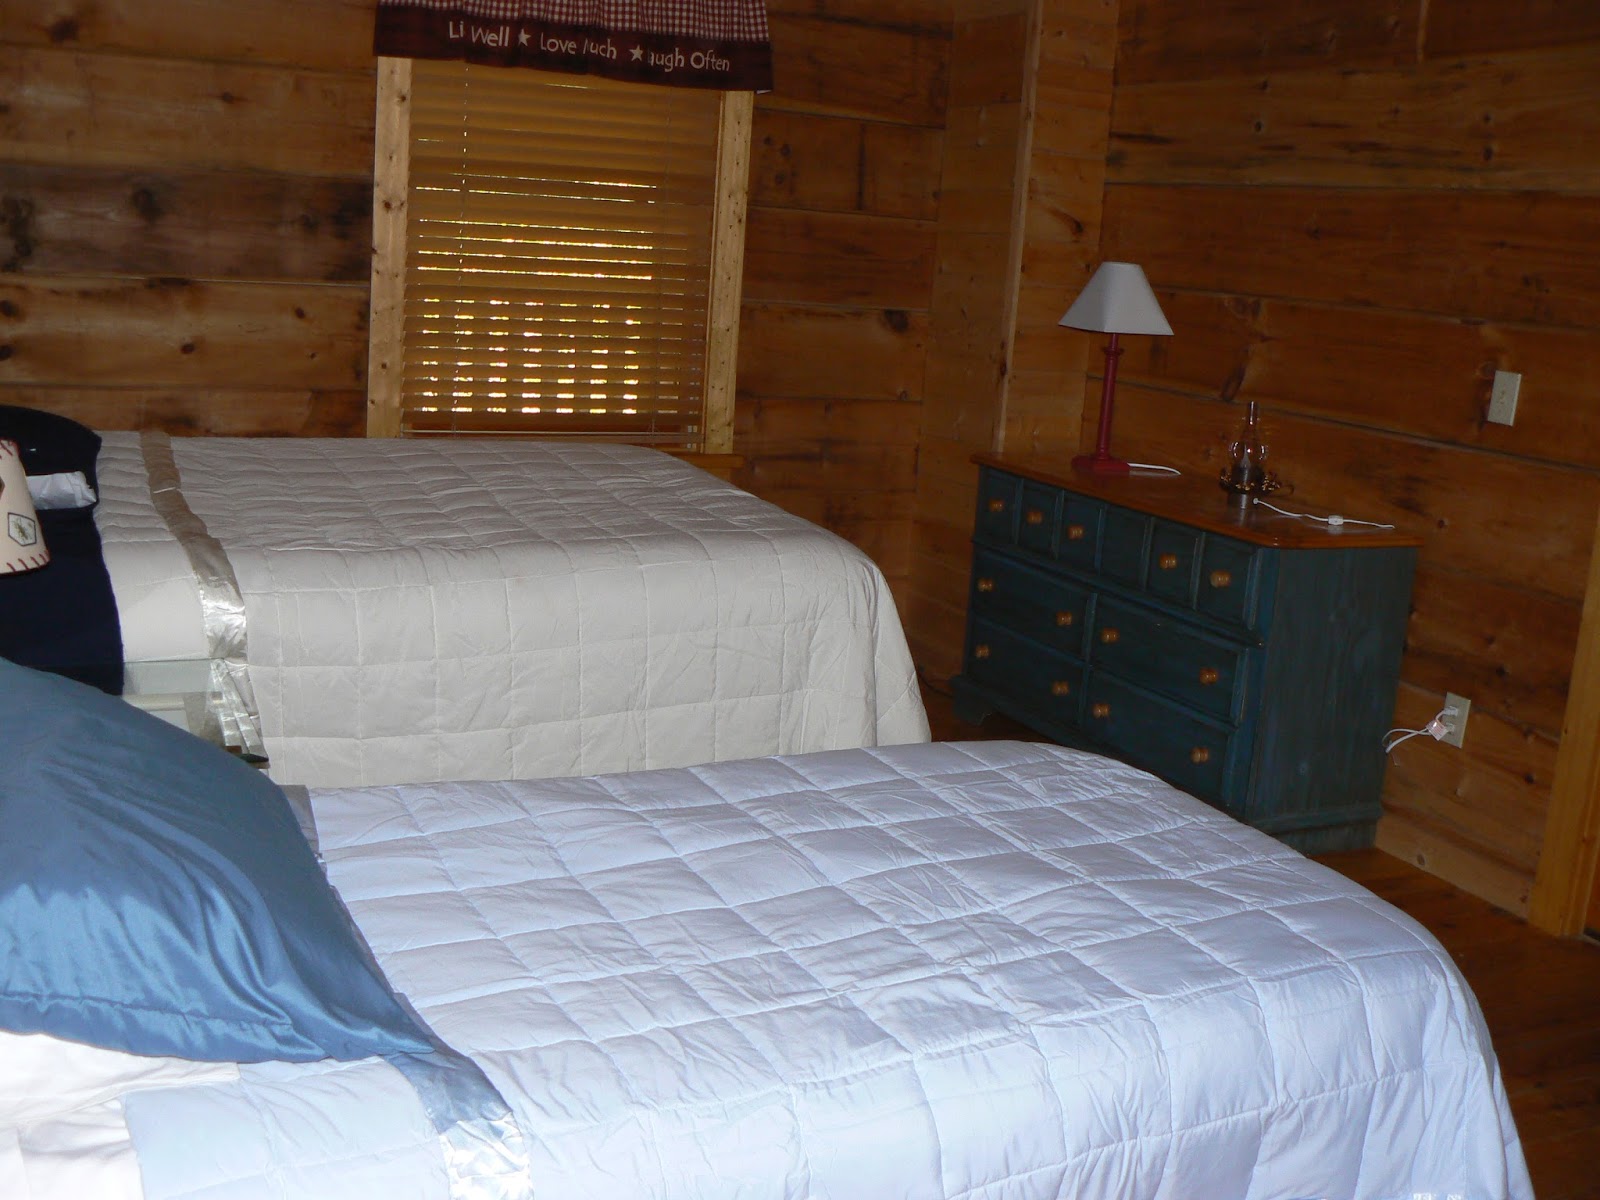
the downstairs bedroom
the downstairs bedroom
the downstairs bedroom
the downstairs bedroom
the fireplace - it gets changed all the time. No flat screen over our fireplace - we have old school CRT TVs at the cabin. The flat screens get stolen somewhat regularly from the rental cabins near us. We aren't there to watch TV so the old 32" CRTs are there until the die.
the goose is sometimes on the fireplace...this is over the window in the kitchen/living area
the living area - free pillows from my Auntie Alyce
the back deck and the less fancy, but working hot tub replacement
new LED lighting on the front deck
new low voltage lighting in the front flower bed (they are little frosted glass "mushrooms" plus 2 spotlights, one lighting up the dogwood tree and one lighting the star on the chimney)
the front flower bed during the day - see our new "log" edging along the road? Helps with the water running downhill - it's a small cedar tree we cut down after one of the storms last year. I change out the flag and the "yard art" with the season - gotta have a little whimsy in the mountains! (the mushroom lights hardly show up during the day)
and last but not least...you'll probably have to enlarge the photo - but we added an owl tree face to one of our trees across the road - our year round neighbor up there just noticed it 2 weeks ago - it's been there since the end of APRIL! LOL
In summary...
Before...
After...
We've come a looooong way baby!
All of the exterior stain, wood filler, and caulk were purchased at our local Perma-Chink office. The folks that work there are extremely helpful and knowledgeable when it comes to log homes. Many thanks to the staff at both the Knoxville and Sevierville, TN locations!
You guys rock!